Refinishing kitchen cabinets can transform the look of a kitchen without the expense of a full remodel. Many homeowners are curious about this DIY project, as it offers a chance to personalize their space while increasing the home’s value.
To successfully refinish kitchen cabinets, one must gather the right tools and materials, prepare the surfaces properly, and apply the finishing techniques to provide a durable and attractive result.

This process not only enhances the kitchen’s appearance but also allows individuals to express their creativity. With the right guidance, anyone can tackle this project, even without prior experience.
From selecting the paint or stain to understanding the steps involved, knowing how to refinish kitchen cabinets can lead to impressive outcomes.
As the popularity of DIY projects grows, many seek ways to update their spaces more affordably. Kitchen cabinets are often the focal point of the kitchen, and refinishing them can breathe new life into a home.
With a little time and effort, anyone can achieve a refreshed and modern look for their kitchen.
Assessing Your Cabinets
Before starting any refinishing project, it is essential to assess the condition of the kitchen cabinets. This includes checking for damage and determining the current finish on the cabinet surfaces.
Careful inspection will guide the refinishing process and help in selecting the right materials and methods.
Inspecting Kitchen Cabinets For Damage
Begin by closely inspecting kitchen cabinets for any signs of damage. Look for scratches, dents, or any loose parts on cabinet doors and drawer fronts.
- Check for water damage: This could reveal itself as discoloration or swelling.
- Inspect hinges and hardware: Ensure they are secure and not corroded.
Use a bright light to spot imperfections. Small damages can often be repaired with wood filler, while more significant issues may require replacement parts. Document any damage to keep track of what needs fixing.
Determining the Finish
Next, identify the type of finish on the cabinets. Knowing whether the surface is painted, stained, or sealed is crucial for the refinishing process.
- Painted surfaces may need stripping before applying a new coat.
- Stained finishes require a different approach, possibly just a fresh coat of stain.
- Sealed finishes might need sanding before refinishing.
To test the finish, use a small area in an inconspicuous spot. Apply a drop of solvent; if it softens, it’s likely oil-based paint or sealant.
This assessment helps in choosing the right cleaning and refinishing products suited for the cabinet’s material and existing finish.
Preparing for Refinishing
Before starting the refinishing process, it is essential to prepare properly. Proper preparation will ensure better results and make the job easier.
Key steps include gathering tools and materials, removing cabinet components, and thoroughly cleaning and sanding surfaces.
Gathering Materials and Tools
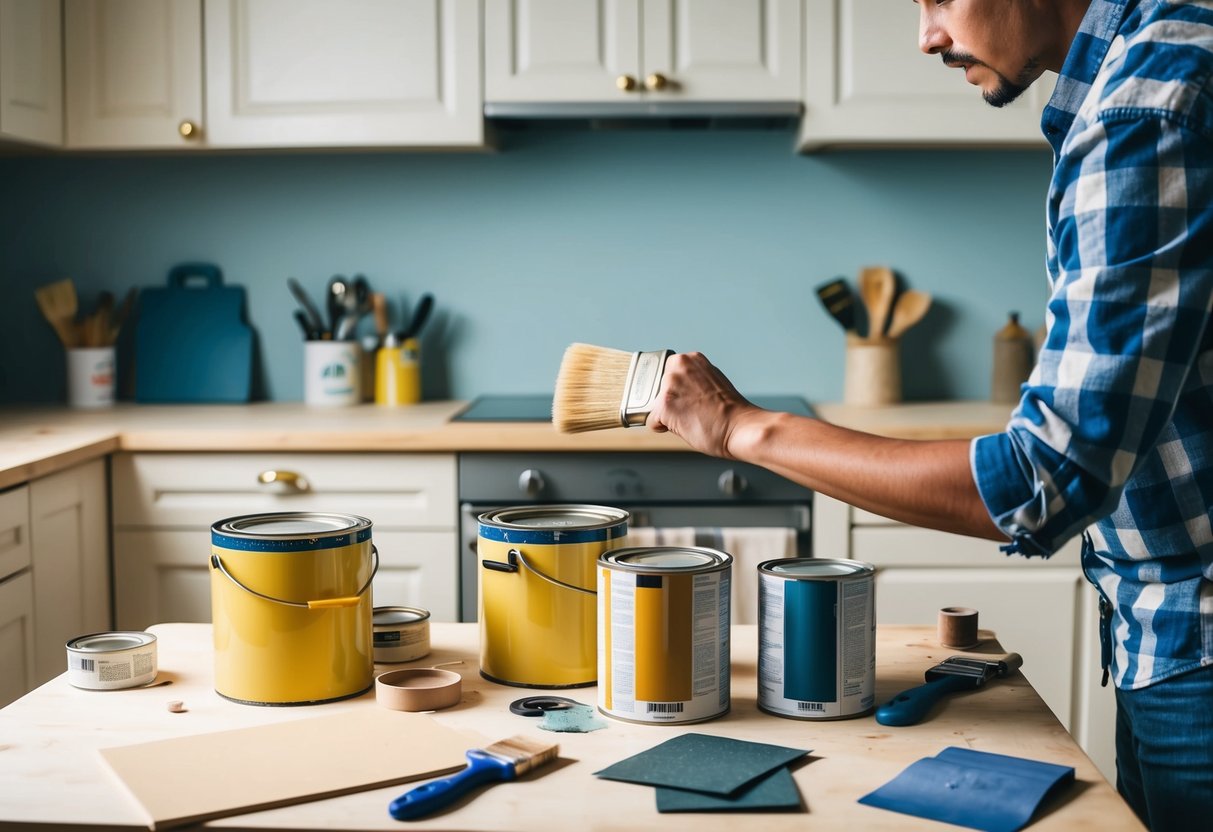
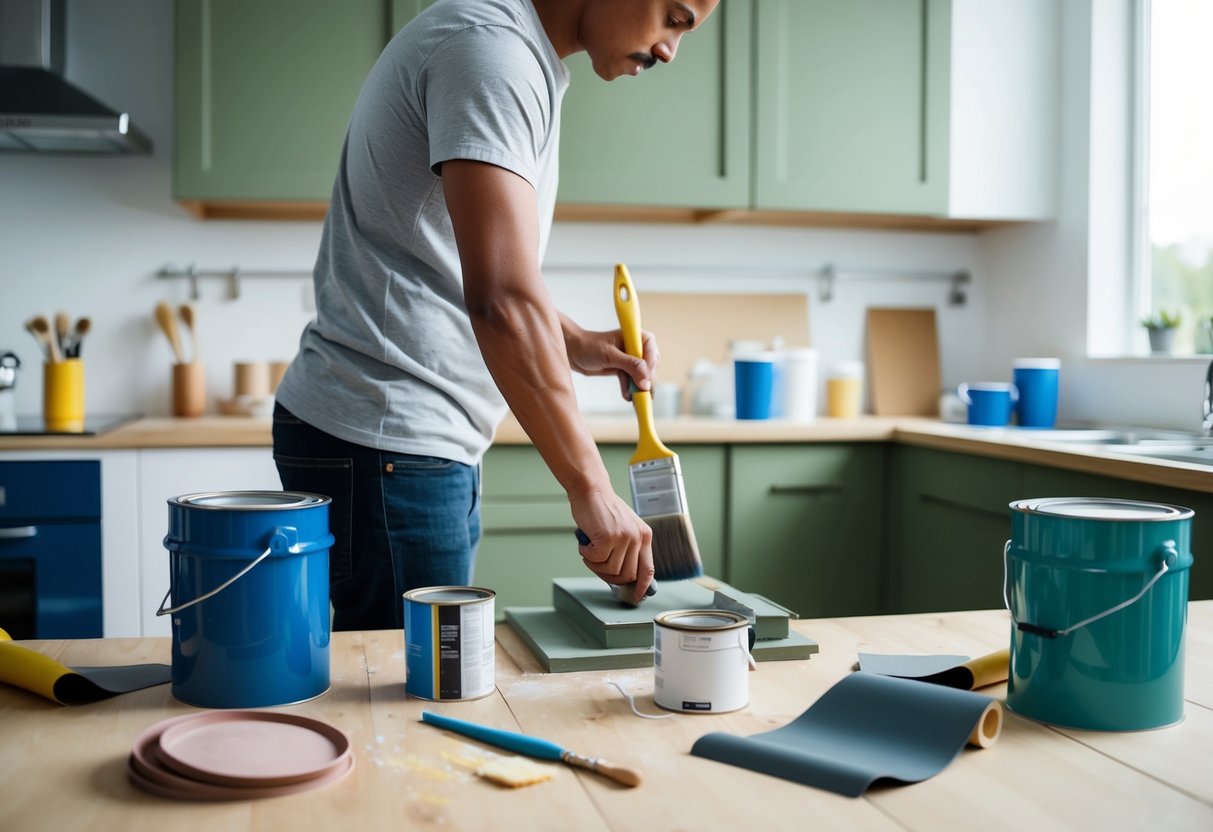
To begin refinishing kitchen cabinets, it is important to have the right materials and tools readily available. Key items include:
- Sandpaper: Use various grits, starting with a coarse grit (80-120) for stripping old finishes, then progressing to finer grits (220) for smoothing.
- Orbital sander: This tool saves time and effort while achieving an even surface.
- Cleaning supplies: TSP cleaner or denatured alcohol effectively remove grease and grime.
- Respirator mask: Protects against harmful dust and fumes during sanding and cleaning.
- Tack cloth: For wiping down surfaces after sanding to remove dust.
Having these items ready ensures a smooth refinishing project.
Removing Cabinet Components
Taking off cabinet components is a crucial step before refinishing. This includes:
- Handles: Unscrew and store them safely. Using a labeled bag can help keep everything organized.
- Hinges: Remove hinges to prevent damage when sanding and painting.
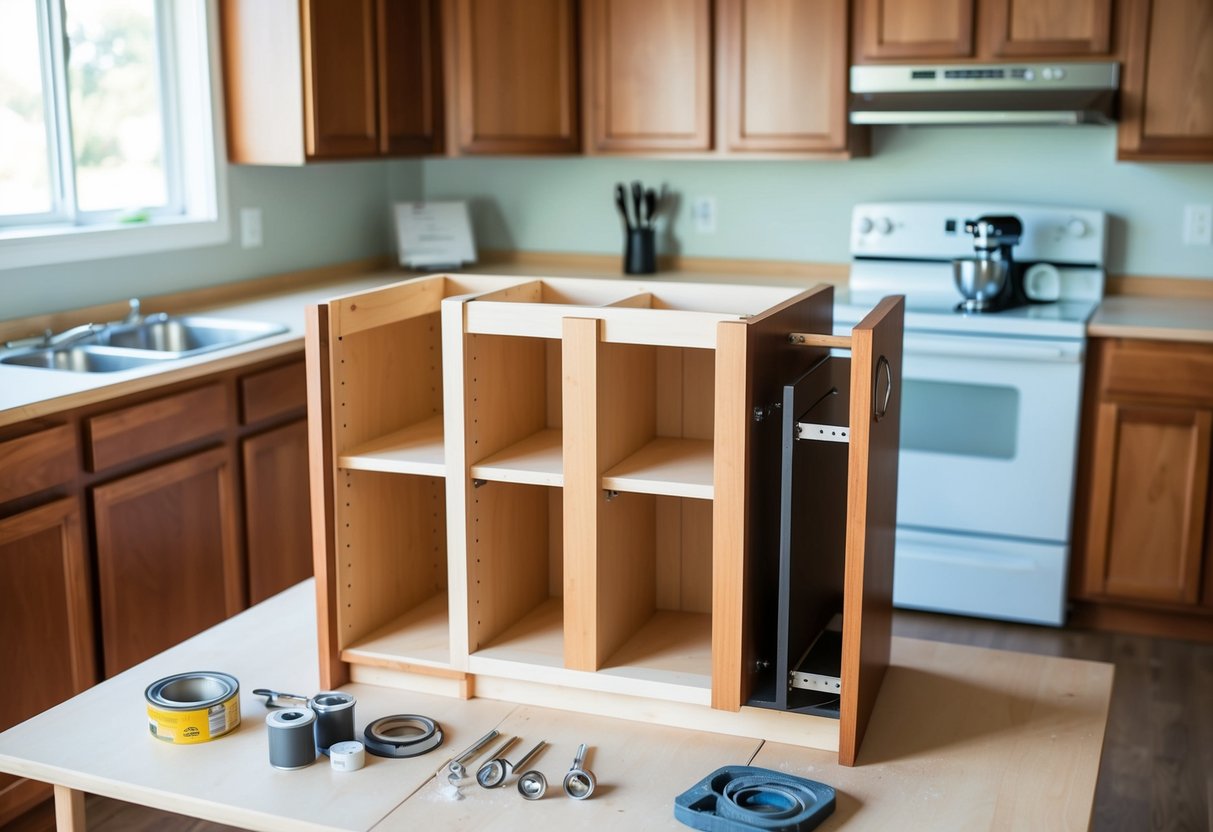
- Doors and drawers: Detach these from the cabinet structure. It is helpful to number each piece to make reassembly easier later.
Careful removal of these components is key to achieving an even finish and avoiding accidents.
Cleaning and Sanding Surfaces
Once everything is removed, thoroughly clean the cabinet surfaces. TSP cleaner is effective for getting rid of grease and dirt. Rinse well and let dry completely.
Next, start sanding to prepare surfaces for the new finish. Using an orbital sander makes this process easier.
Begin with the coarse sandpaper to strip the old finish and then switch to a finer grit for smoothing.
For corners and detailed areas, a sanding sponge is useful. After sanding, use a tack cloth to wipe away all dust.
This step is vital for ensuring the new finish adheres properly for an appealing final product.
Applying the Finish

The final steps in refinishing kitchen cabinets involve selecting the right paint or stain and applying primer and finish. These decisions greatly impact the appearance and durability of the cabinets.
Choosing Paint or Stain
When choosing between paint and stain, consider the desired look and the wood type.
Paint provides a solid, uniform color that hides imperfections. It is suitable for a variety of styles and can be eco-friendly with low-VOC options.
On the other hand, stain enhances the natural grain of the wood. It is ideal for showcasing beautiful wood varieties.
Both choices require careful selection of the finish type, such as gloss, semi-gloss, or matte.
Make sure to select a finish that withstands the kitchen environment, including moisture and heat. Products labeled specifically for kitchen use or those designed for cabinets generally provide the best results.
Applying Primer and Finish
Before applying paint or stain, preparation is key. Start by sanding the cabinets to create a smooth surface and better adhesion.
After sanding, clean the surfaces thoroughly to remove dust and debris.
Primer is crucial for ensuring even coverage and durability. It works especially well when using paint.
Apply a high-quality primer that is appropriate for the chosen finish. Allow it to dry completely, following the manufacturer’s instructions.
Once the primer is dry, it’s time to apply the finish.
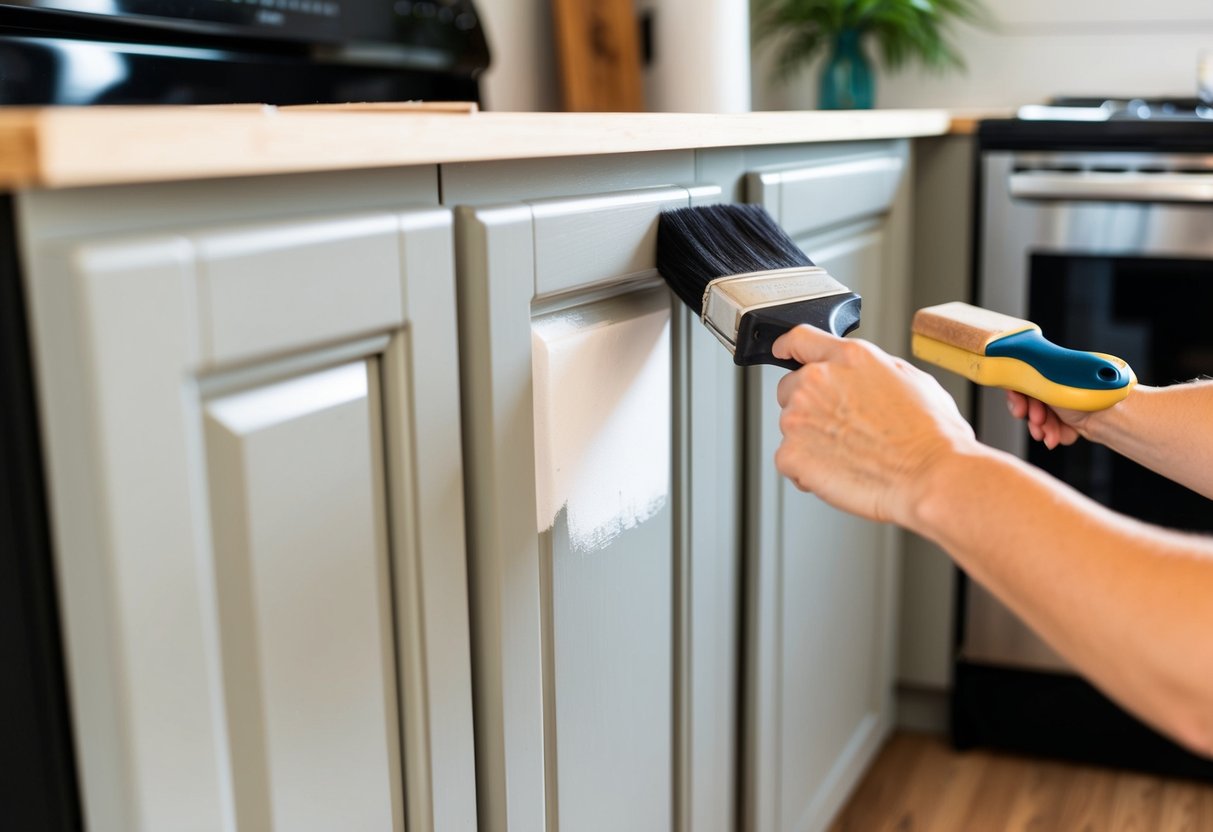
For paint, use a quality brush or roller for a smooth application. Work in thin layers to avoid drips and achieve an even look.
For stain, apply with a clean cloth or brush, ensuring uniform coverage.
Always allow adequate drying time between coats, especially when adding multiple layers.
Reassembling and Upgrading

After refinishing kitchen cabinets, it’s important to reattach the hardware and consider upgrades. This process enhances both functionality and appearance. The right hardware can transform the look of cabinets and improve their usability.
Reattaching Hardware Components
Reattaching hardware components requires precise attention to detail. Begin by organizing all screws, hinges, and handles removed during the refinishing process. It is helpful to use a magnetic tray to prevent losing small items.
When reattaching hinges, align them carefully to ensure smooth cabinet doors. The use of a level can assist in proper alignment.
Each hinge should be secured with screws tightly but not over-tightened, which can strip the wood.
For handles, measure and mark the positions before drilling new holes. This will ensure that they are evenly spaced.
A cabinet refacing project can benefit from ensuring all hardware aligns perfectly, enhancing the overall finish.
Installing New Hardware
Upgrading to new hardware can dramatically change the look of kitchen cabinets. Choosing the right handles and hinges involves considering style and durability.
Options like brushed nickel, chrome, or matte black finishes can match various kitchen designs.
When installing new handles, the process starts similarly to reattaching older hardware.
Mark the position where the handles will go and drill holes as needed. Ensure each handle is secure by using the appropriate screws that fit both the handle and cabinet material.
Attention must also be given to the hinges.
New hinges can add a modern touch while providing better support.
It is essential to select hinges that suit the cabinet design, ensuring a perfect fit. This approach not only enhances aesthetics but also increases the longevity of the cabinets.
Frequently Asked Questions

Refinishing kitchen cabinets can be a straightforward process with the right approach. Homeowners often have specific concerns and inquiries regarding techniques, costs, and DIY possibilities. Here are some common questions and their answers.
What are the steps involved in repainting kitchen cabinets?
Repainting kitchen cabinets typically involves several steps.
First, the cabinets should be cleaned thoroughly to remove grease and dirt. Next, they need to be lightly sanded to help the paint adhere better.
After that, applying a primer is recommended, followed by one or two coats of paint. Finally, sealing the paint with a topcoat can enhance durability.
Can kitchen cabinets be refinished without the need to sand them first?
Yes, kitchen cabinets can be refinished without sanding, but it depends on the type of paint used.
Some paints are designed to adhere well to surfaces without sanding. Using a de-glosser can also help prepare the surface, but for the best results, light sanding is still advised.
What are the cost considerations for refinishing kitchen cabinets?
Costs for refinishing kitchen cabinets can vary widely.
Expenses depend on factors like the materials chosen, whether a professional or DIY method is used, and the size of the kitchen.
In general, DIY refinishing could range from $100 to $500, while professional refinishing may go from $1,000 to $3,000.
How can one update the look of their kitchen cabinets without complete replacement?
Updating kitchen cabinets without a full replacement can be done through various methods.
Painting or staining can breathe new life into old cabinets. Additionally, changing cabinet hardware or adding decorative trim can enhance their appearance significantly.
Is it possible for a homeowner to refinish their kitchen cabinets as a DIY project?
Yes, many homeowners successfully refinish their own kitchen cabinets as DIY projects.
With proper preparation, tools, and materials, it can be a manageable task. Following guides or tutorials can provide helpful steps and tips for achieving good results.
What methods are available for refinishing kitchen cabinets using stain?
Refinishing kitchen cabinets with stain typically involves gel stains or liquid stains. Gel stains are thicker and can help conceal imperfections. Meanwhile, liquid stains penetrate the wood and can enhance the natural grain.
Both methods require proper application techniques for the best finish.
